Search This Blog

Friday, November 30, 2012

My Memories Suite Giveaway Winner!

Good morning, bloggers!  Wanted to say a big thank you to all who entered My Memories Suite dowloadable digital scrapbook software giveaway.  I'm happy to announce that Mr. Random Generator chose


Awesome Melody. All the elements come together so well. Congrats.

Congrats, Helen!  Please send me your contact (Full name and email addy only).  Hope you enjoy it and thanks for entering the giveaway.  I can't wait to see what you create with the software!

See you all in a few days!

Tuesday, November 27, 2012

More hybrid LOs


LO #1

Hi all!  Didn't want to bore y'all on a Tuesday morning so I thought instead of blabbing about my project, I'll let the pictures do most of the talking - plus really, my brain is fried from cyber shopping yesterday (I don't do Black Fridays - can't stand the crowd).  Still using the My Memories Suite digital scrapbooking software (did you enter my software giveaway yet?  Click here to be entered, there's still time!) to create the digital part of my LOs and using the Silhouette Studio software to create all the big bold titles and other die-cut embellishments, all cut with my Cameo. 

I did a total of 5 double LOs. 

LO #2
 
LO #3

for some reason I had some tokens lying around ;)

and apparently some un-redeemed prize tickets too
 
LO # 4

LO #5

the pair of cleats needed some realistic laces (jute twine)
 
 Thanks for stopping by and have a wonderful week!  

Friday, November 23, 2012

Look @ me go! (hybrid LO) & My Memories Suite 3.0 Giveaway


Hello once again!  I hope all of my American friends had a wonderful Thanksgiving celebration. Today I am sharing a 12 x 12 hybrid LO I recently completed.  It's a  hybrid because it's part digital and part traditional (paper).  I love combining both because I can slowly work on my LOs for as long as I want without cluttering my already small craft space, then print them out when I'm ready and add my embellies (buttons, flowers, embossing mediums, twines, ribbons, glitter, you name it) - I'm a touchy feely gal and love to run my fingers through scrapbook LOs.


Those who have been following me know that I love love love digital scrapbooking!  I have only been doing this for less than a year and still consider myself a newbie.  The wonderful people at My Memories Suite recently gave me a free download copy of My Memories Suite 3.0 (4.0 is apparently coming out soon) to try and I am so excited to play with it.  In fact the digital part of this LO was created using MMS software.   And wouldn't you believe that just for trying the MMS software they are letting me give away a FREE downloadable copy of MMS 3.0 to one of my readers?!  All  you have to do is leave a comment on this post with a way for me to contact you should your name be picked by Mr. Random Number Generator.  You have until Thursday of next week (November 29th) to leave a comment here and I will post the winner of the free MMS 3.0 software here next Friday, November 30th.  Good luck!

Now on to the details of my project today:

This is the .jpg copy of my LO from MMS software.  As you can see
I left room where I wanted the bold title to go.

This is the .jpg image imported onto my Silhouette Studio so I can
plan how big to cut my title with my Cameo - I just love that I can do
this with the Silhouette Studio!!!

I used the Creampuff font to write my title, added a shadow using
the offset feature and arranged the words as I pleased .

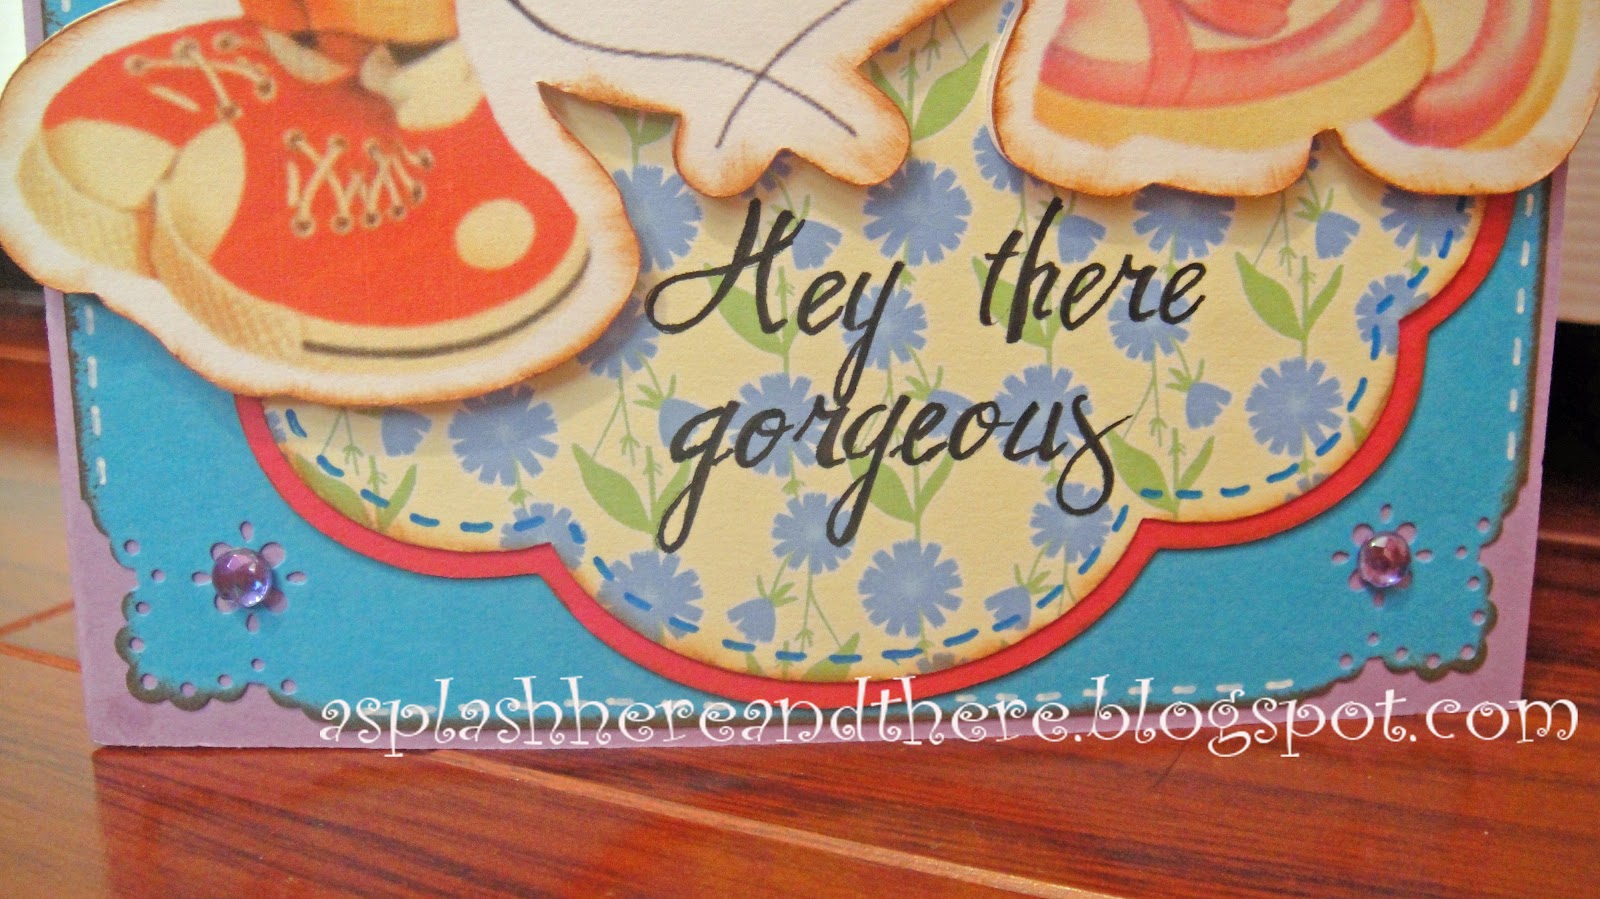
And here are some closeups of the finished LO that I will be putting in a regular 12x12 album - still loving the Epson Artisan 1430 wide format printer to print my digital pages! 

flowers and buttons and twine, oh my! ;) from my stash

I adhered the cut-out title with foam mounts for some dimension

This digital butterfly needed some embellies too ;) 
 
Thank you for stopping by!  Over the next few days I will post more of the hybrid LOs I created using the MMS software.  Don't forget to leave your name and a way for me to contact you if you win this free downloadable software.  

Thursday, November 15, 2012

just for you


Quick post I promise ;).  A good friend of ours is celebrating her birthday this weekend and I wanted to make her a special card.  This card is roughly 3 1/2 x 8 1/2 and all cuts were done using my Cameo.  The card base and the envelope are images by Samantha Walker.  I used the ChopinScript font for the sentiment in the front of the card as well as the inside. 

Here are some closeups.  As you can see I went irock-happy with the blings (LOL!). 


the matching envelope - I think it's crying out for some
blings, don't you think?  The day is young - I may add
those later LOL! 

The inside of the card - I also used a couple of digital images from
computerscrapbook.com by Coreen Silke. 
 
It's almost the weekend!  Hope you all have a wonderful one - see you next week!  

Monday, November 12, 2012

More Disney Trip Digital LOs


Happy Monday!  I'm finishing up scrapbook LOs from our first trip to Disneyland in 2008 (I'm really way behind in scrapbooking!).  These are just a few of the 26 digital scrapbook pages I recently completed.  I used the CM StoryBook Creator 4.0 software to create the pages and then printed out the 12 x 12 LOs in my wide format printer (which has been working overtime for me lately LOL!). 

Here are some more of the pages. 


Credits for the Disney-themed digital papers and elements.
Kellybell designs
Trixie scraps
computerscrapbook.com

Thanks for stopping by!  Have an awesome week, y'all! 

Tuesday, November 6, 2012

Hey there gorgeous


Hi there!  Remember those Disney images I showed you all a couple of posts ago here that I found online and turned into a .png so I can use them over and over in other projects?   Well here's one I put in a card for my little niece who is turning 1 year old tomorrow - her mom is a Disney fanatic and will surely appreciate this image.  You can actually do this process with any .png or .jpg images you want to cut with the Cameo - much like the process you'd use if you're familiar with digital stamps.  This card is a 5x7 and all cuts were done using my Cameo.

I started out by importing the Disney image onto the Silhouette Studio and then sized it to fit a 5x7 card.  Since .png images don't have cut lines, I had to use the trace feature on the Silhouette Studio to trace the outer image.  I then used the offset feature to create the cut lines outside the image as seen below.


Here is how the image looks like after printing (I wanted to layer the two images for depth so I printed two onto an 8 1/2 x 11 size white cardstock).  You won't see the cut lines here but the Cameo will know where to cut using the registration marks on the three corners of the paper below (yep, still using a Cricut mat in my Cameo).


And here are some closeups of the finished card. 

I used some glitter glue in Minnie's bow and belt.

The pattern on the scalloped image above is from the
Silhouette Store - I used the print and cut feature on
the Silhouette Studio.  I used the Antrokasdemo font for the
sentiment. 

I used another .png  image , a frame, as seen above to add interest
to the inside of the card; this frame is from computerscrapbook.com
The left side of the card liner is punched with a MS lace puncher. 
The sentiment on the inside of the frame is typed using
Chopin Script font.
 
Thanks for stopping by once again - I sure do appreciate your comments.  Have a wonderful day! 

Sunday, November 4, 2012

Classic guys never go out of style


Hello again my blogging friends!  Today's post can also be viewed over at The Bugbytes blog.  Thanks Pam and her readers for having me once again.  I'm sharing a card I created for my dad's 75th birthday.  The card was roughly 5x7 and all cuts were done using the Cameo.  All paper patterns used were also from the Silhouette Store. 

The base of this shaped card was achieved by overlapping the antique vintage car image by Jamie Koay and the banner frame by Sophie Gallo via the offset feature on the Silhouette Studio, as seen below.


After creating the outer shadow for both images, I made another copy of the shadow, flipped it vertically and then welded the two shadows to create the base of my card.


I used the print and cut feature of the Silhouette Studio to fill in the patterned paper for the vintage car and the banner frame.  I've also included a sentiment on the banner frame using Arial font.  For the inside of the card, I used the Baroque Script font. 


All the cuts using the Cameo came out really nice!  I printed and cut a total of three of the vintage car to layer for depth. 


And here's a shot of the inside of the card.  A little faux stitching here and there, some irock white gems and a bit of foam mounts and I'm done. 


Thanks for looking and have a wonderful day! 

Saturday, November 3, 2012

Gone digital?!


Hello all!   I've recently been creating hybrid LOs because I love incorporating die cuts with my digital LOs.  But today, in honor of National Digital Scrapbooking Day let me share with you all a double LO I recently completed using only digital elements and papers. I am still using the Creative Memories StoryBook Creator 4 software to create my digital LOs.  After completing my LOs, I printed them at home using my wide format printer.  The pictures were taken back in 2008, the first time we took our kids to Disneyland. 

Here are some closeups:


The Disney character images on these LOs I used as embellishments were originally .gif  images I found by googling "Disney characters" online.  I turned them into .png  images so I can use them and resize them to my liking in my LOs (plus I can use them again in other projects).  I used PhotoShop Elements to achieve this.  Below are closeups of the images I got online.


Aren't these cool?  I love digital scrapbooking!  I have other Disney LOs I'd like to share with you all sometime soon.  Thanks for stopping by and have a creative digital scrapbooking day!

Credits:
Trixie Scraps (Disney themed papers and elements) , computerscrapbook.com (some of the picture frames, elements)