So I have a renewed interest in playing with my Cricut Imagine eversince the HSN E2 launch when the E2 sold out and Jinger Adams had to showcase the Cricut Imagine at a special price - way less than I paid for mine a year ago (yes, bought it at launch since I am such a sucker for the newest Provo Craft stuff!). I haven't used my Imagine machine for several months now and since it has been moved around too much in my endless quest to organize my craft stuff, it needed to be updated and calibrated after dusting it off ;). I will not go in too much on how painful it is to update and recalibrated - I'm sure fellow Imagine users know what I'm talking about. Don't get me wrong, I love this machine and it's possibilities.
Today's card is an A2 size card and is project #5 for Using My Stash pledge at CC MB. The base of my card is actually a clear craft plastic by Recollections I bought from Michaels a while back. I used some of this clear craft plastic for my HSN banner entries and have more leftovers.
Here's a little sideview of the card.

The double-sided printed cardstock is from an old 8 1/2 x 8 1/2 K&C stack I have had for ages, cut smaller than the base. I embossed the front bottom of the card with one of the border CB folders I have not used in a long while, called Organic Flourish (there are actually 5 borders in this set - I am loving the embossed look on clear craft plastic and will definitely do more projects this way!) I then centered the printed cardstock where I want it behind the clear craft plastic. I wanted the printed cardstock to stay in place but didn't want to use tape as it would show through the clear craft plastic so I had to be creative. I saw a beautiful bow in
JaniceA's (thanks for the inspiration, Janice!) blog when she made a card for her granddaughter and have been wanting to try to make one and thought this type of bow would be perfect to hold the cardstock and the clear craft plastic together without using glue or tape! I used a Provo Craft eyelet setter (bought it on eBay almost a year and a half ago) for the two holes to thread my ribbon through (see pic below to get an idea of how this eyelet setter looks like).

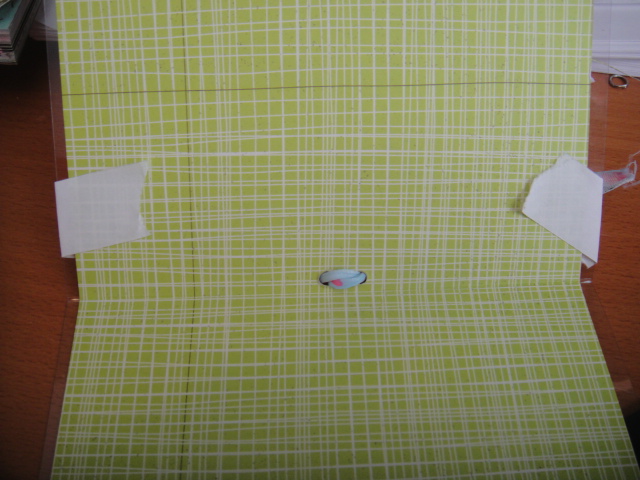
To keep the printed cardstock in place while I punch the holes, I used painter's tape.
I then attached a cream colored cardstock inside to hide the back of the bow. I used one of MS corner punchers to decorate the cardstock before I adhered it to the card.
The last thing I did was to finish decorating the front of the card. The butterfly image with layers were from Lori's Garden (all layers foam-mounted). The sentiment "Celebrate" is a stamp from Close To My Heart. The cut image where the sentiment is stamped on is from one of the preloaded images on the Imagine machine, flood-filled with art from Imagine More Cards. I finished off the card with 3 yellow-green irock gems. I didn't want tape to show through the clear craft plastic so I ran the Imagine cuts through my Xyron 900 - as you can see from the pic below the images have a much cleaner appearance than if I had used my tape gun.
And here's another look at the finished card.
Thanks for looking and happy crafting!