Hi there! Remember those Disney images I showed you all a couple of posts ago
here that I found online and turned into a .png so I can use them over and over in other projects? Well here's one I put in a card for my little niece who is turning 1 year old tomorrow - her mom is a Disney fanatic and will surely appreciate this image. You can actually do this process with any .png or .jpg images you want to cut with the Cameo - much like the process you'd use if you're familiar with digital stamps. This card is a 5x7 and all cuts were done using my Cameo.
I started out by importing the Disney image onto the Silhouette Studio and then sized it to fit a 5x7 card. Since .png images don't have cut lines, I had to use the
trace feature on the Silhouette Studio to trace the outer image. I then used the
offset feature to create the cut lines outside the image as seen below.
Here is how the image looks like after printing (I wanted to layer the two images for depth so I printed two onto an 8 1/2 x 11 size white cardstock). You won't see the cut lines here but the Cameo will know where to cut using the registration marks on the three corners of the paper below (yep, still using a Cricut mat in my Cameo).
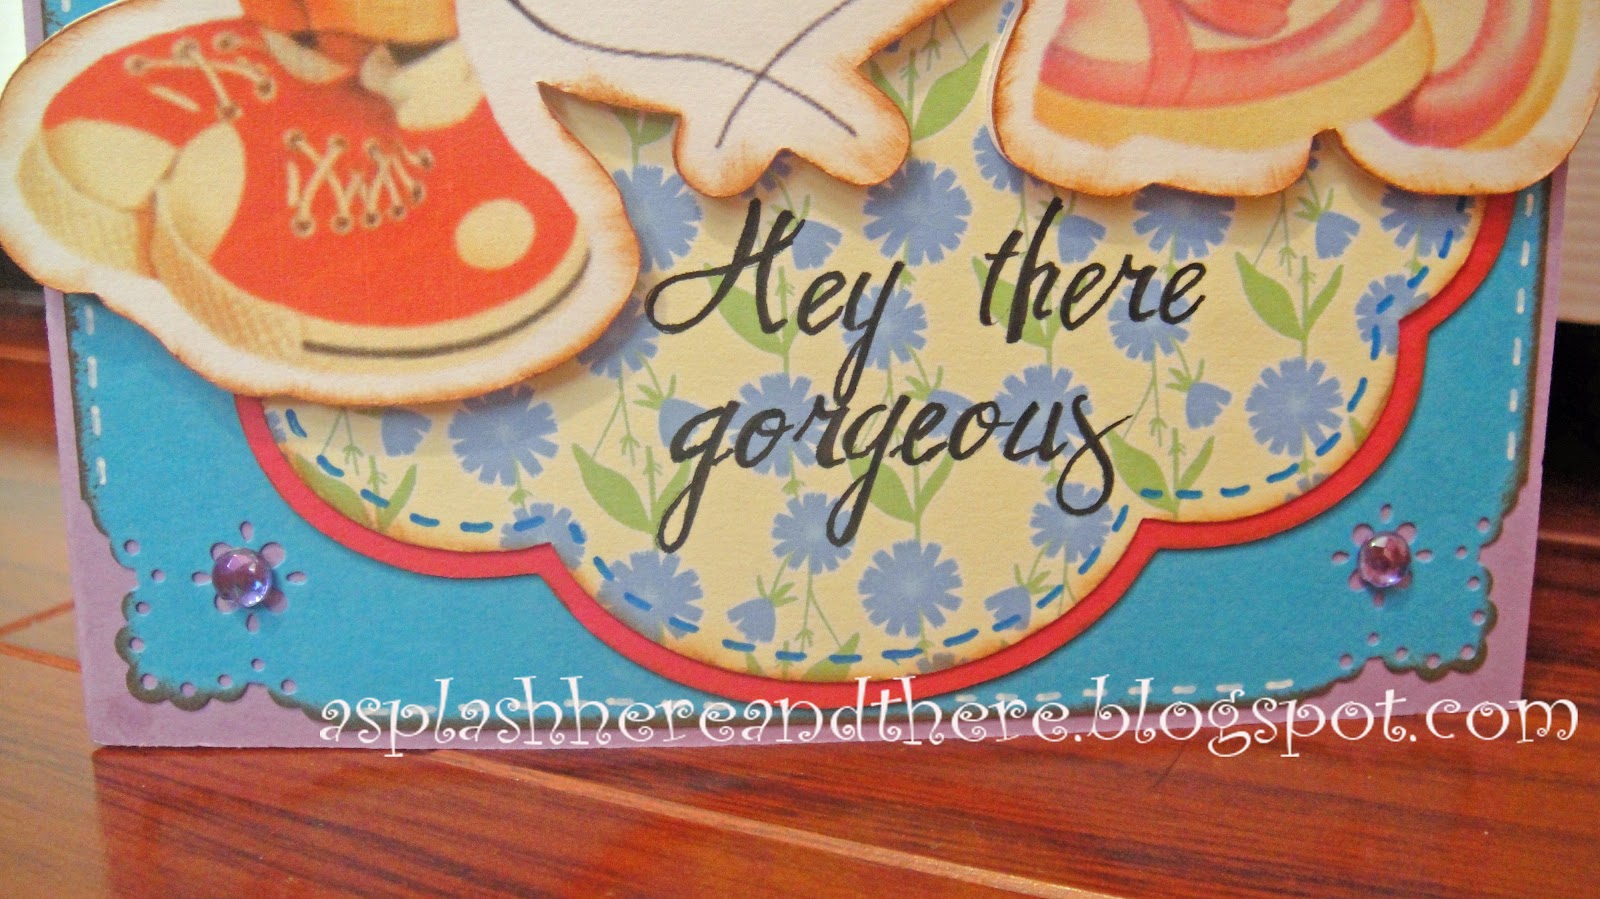
And here are some closeups of the finished card.
I used some glitter glue in Minnie's bow and belt.
The pattern on the scalloped image above is from the
Silhouette Store - I used the print and cut feature on
the Silhouette Studio. I used the Antrokasdemo font for the
sentiment.
I used another .png image , a frame, as seen above to add interest
The left side of the card liner is punched with a MS lace puncher.
The sentiment on the inside of the frame is typed using
Chopin Script font.
Thanks for stopping by once again - I sure do appreciate your comments. Have a wonderful day!